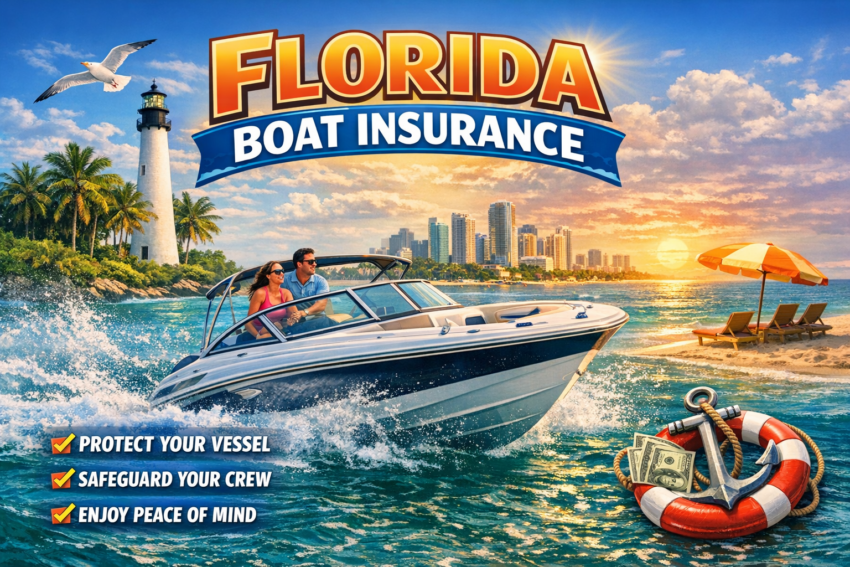
Florida’s sun-drenched coastlines and countless lakes make it a haven for boating enthusiasts. However, with the joys of water recreation come responsibilities and risks that every boat owner should be aware of. Boating Insurance in Florida is more than just a legal or financial safeguard; it’s peace of mind for anyone navigating Florida’s waters. Understanding your insurance options can help you make informed decisions to protect your vessel, passengers, and yourself.
Understanding the Basics of Boating Insurance in Florida
Boating insurance in Florida functions much like auto insurance, but carriers tailor it to the unique needs of watercraft owners. It provides financial protection against damages or losses related to your boat, including accidents, theft, vandalism, and certain natural disasters. While Florida does not legally require boaters to carry insurance, marinas, lenders, and local regulations often mandate it for docking privileges or loan approval.
Insurance policies can cover a wide range of vessels, from small personal watercraft to large yachts. The basics typically include liability coverage, which protects you if you’re responsible for injuries or property damage, and physical damage coverage, which pays for repairs or replacement if your boat is damaged. Understanding these foundational elements is crucial before you navigate any Florida waterway.
Additionally, Florida’s unique climate, marked by hurricanes and tropical storms, makes comprehensive coverage highly advisable. The insurance company should tailor your policy, not just to your boat, but also to the specific risks of boating in the Sunshine State. This attention to detail means considering both the size and type of your vessel, how and where you use it, and the environmental hazards you might encounter.
Key Coverage Options for Florida Boat Owners
When selecting boating insurance in Florida, it’s important to look beyond basic liability and consider other essential coverage options. Hull and machinery coverage pays for damages to your boat from accidents, storms, or collisions, and it’s a must-have for most boat owners. Medical payments coverage helps with medical expenses if you or your passengers are injured in a boating accident, regardless of who is at fault.
Uninsured or underinsured boater coverage is another critical option, especially in Florida, where not all boaters carry insurance. This coverage protects you if you’re in an accident with another boater who lacks adequate insurance. Additionally, you may want to consider towing and assistance coverage. If your boat breaks down on the water, this can save you from expensive out-of-pocket costs for towing and emergency services.
Many insurers also offer add-ons, such as coverage for fishing equipment, personal effects, and trailers. If you participate in fishing tournaments or use your boat for charters, specialized endorsements may be necessary. Review each option carefully to ensure your policy aligns with the way you use your boat and the specific risks you face as a Florida boater.
Factors That Affect Boating Insurance Rates in Florida
Several factors influence the cost of boating insurance in Florida. The type, size, and value of your vessel play a major role; high-performance boats, yachts, or boats with expensive electronics will generally command higher premiums. The insurance company also considers your boating experience and claims history, and experienced operators with clean records may enjoy lower rates.
Where and how you use your boat can impact your insurance costs. Boats kept on trailers or stored in secure facilities during hurricane season are often cheaper to insure than those docked year-round in exposed marinas. Similarly, if you use your boat for personal recreation rather than commercial purposes, you may qualify for lower rates.
Florida’s weather risks, particularly hurricanes and tropical storms, can also drive up premiums. Insurers may require higher deductibles or specific storm-preparedness measures to insure boats in high-risk areas. Shopping around and comparing quotes is the best way to find a policy that matches your needs and budget.
Common Claims and Risks for Florida Boaters
Florida boaters face unique risks that shape the types of claims most frequently filed. Storm damage is a significant concern, with hurricanes and tropical storms causing extensive harm to boats each year. Claims for wind, flooding, and water intrusion are common, especially during the Atlantic hurricane season.
Collisions and accidents are another frequent source of claims. Florida has one of the highest numbers of registered boats in the U.S., which increases the likelihood of accidents on its crowded waterways. Whether it’s a collision with another vessel, a submerged object, or even a dock, having the right coverage makes these incidents less financially damaging.
Theft and vandalism also pose real threats, particularly in popular tourist areas or unsecured marinas. Comprehensive insurance can help recover losses from stolen boats or equipment. Additionally, liability claims arising from injuries to passengers or third parties are common, making it vital to ensure your policy provides adequate liability coverage.
Tips for Choosing the Best Boating Insurance Policy
Selecting the right boating insurance policy in Florida starts with assessing your needs and understanding the unique risks you face. Begin by evaluating your boat’s type, value, and use, then compare coverage options from multiple insurers. Look for a policy that offers a balance of affordability, comprehensive protection, and reputable customer service.
Don’t hesitate to ask about discounts. Many insurers offer price breaks for boaters who complete safety courses, install anti-theft devices, or store their boats in secure locations during hurricane season. Bundling your boat insurance with other policies, such as home or auto insurance, can also lead to savings.
Finally, review the policy details carefully, especially the exclusions and deductibles. Make sure you understand what’s covered and what isn’t, and how the company will handle any claims in the event of a loss. Protecting your investment with the right boating insurance policy lets you enjoy Florida’s beautiful waters with confidence and peace of mind.
Conclusion
Boating in Florida offers unparalleled experiences, but it also demands careful preparation, starting with the right insurance. By understanding your coverage options, the factors that influence your rates, and the risks unique to Florida’s waterways, you can secure a policy that meets your needs. With proper insurance in place, you’ll be free to enjoy all the adventures that Florida’s lakes, rivers, and coasts have to offer, knowing you’re protected against life’s unexpected turns.